Description
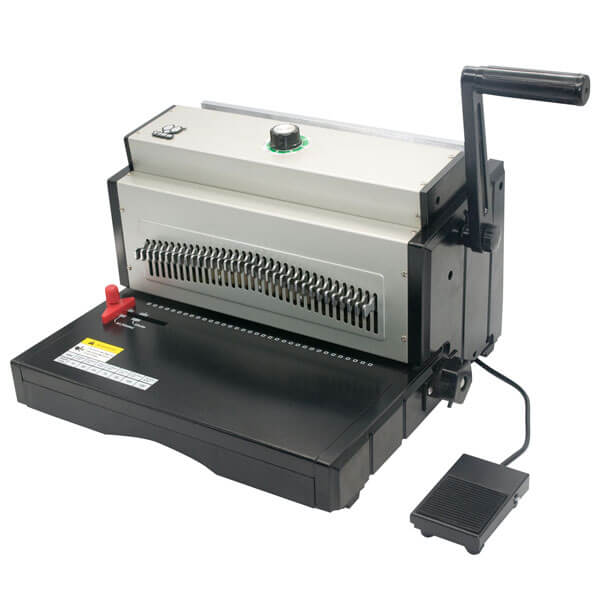
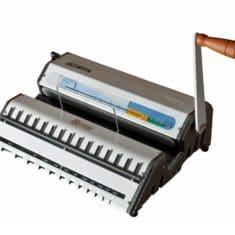
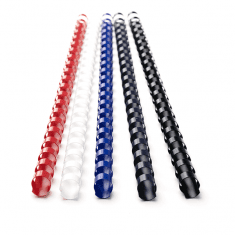
Tough metal construction Electric foot pedal operated punch Can punch through 30 sheets of 80 gsm paper Bind documents up to 120 sheets of 80 gsm paper (14 mm thickness) Uses 34-loop metal wires from 6 mm to 14 mm Disengageable Pins to bind custom sized documents Guide that allows for A3 binding in two passes Adjustable margin for customisable binding Adjustable clamp for greater wire closing accuracy Removable waste paper tray.
WM703E Electric Wire Binding Machine
Welcome to New Zealand Binding, in this video we are going to demonstrate the WM703E which is our Heavy duty 3 to 1 Electric Wire machine.
First you’ll need to check the pins are in the correct position for the page dimension you are using, in this case all pushed in for A4.
Before you start any binding always test with a piece of scrap paper to ensure that the holes are centred along the length of the document.
You can adjust the position of the holes by moving the paper guide and margin lever.
Now that we’re ready to bind make sure pages are level and place the document into the machine ensuring it is tight against the paper guide.
When ready press the pedal to punch the paper and put the pages face down on the desk.
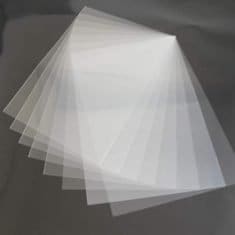
We recommend punching no more than 30 sheets of 80 gsm or 2 clear acetate covers in one go to avoid damaging the machine.
Once all pages have been punched for a neat finish move the back page to the front as this will hide the join inside your document once bound.
Make sure all holes line up and place document on the edge of the desk with a slight overhang.
Turn the dial on top of the machine to adjust the clamp to the size of the wire you are using.
Thread the wire through the holes just enough so that the C opening is facing towards you.
Pinch the bottom of the document just above the wire tightly to lock it in position and carefully place the document in the magnetic clamp, ensuring the wire is flat.
Pull the handle towards you slowly until the clamp grips the wire and then squeeze firmly.
Remove the document and ensure wire is evenly clamped; the clamp can be adjusted using the dial if required.
The join should be clearly visible but closing the back page will conceal this inside the document.
Your document is now ready.
Don’t forget when binding to empty the tray regularly as this will avoid the machine getting jammed.


Nicole Effner (verified owner) –
We really appreciated the time and the personal service and going the “extra mile” Adrian gave to us, in helping us decide which binding machine best suited our needs. We are very happy with the purchase of our machine. As a side note, we are also thoroughly impressed with the quick turnaround in ordering stock and delivery. Thanks.
Corbin Featherstone (verified owner) –
We had an urgent need for 300 DLE wire-bound booklets. The lead-time was less than two days, commercial printers couldn’t accommodate the short turn around. We finally received a local print-shop offer of $7 per unit, but only if we could provide them with in-house printing. Trying to keep costs down I hit Google and lucked onto Adrian straight out of the gate. A quick phone call confirmed a new binding unit, backing boards, wire clippers and wire-coils sufficient to cover our needs would arrive first thing the following morning. Adrian arrived at 9:30am, set up the unit and gave us all a binding tutorial. Five hours later we had 300 perfectly bound booklets ready for the event. Plus one whole binding machine set up in our office for future events. All for half the cost of sending them out to a professional. Solid.
Roslyn Parfitt (verified owner) –
Adrian was amazing – one call to Adrian, he was out to our office within half an hour to install machine. Training took 10-15 minutes. Nothing was a problem. Adrian your customer service was outstanding. Thank you we are very happy.
Samantha Brill (verified owner) –
The new binding machine is great so far :)