Well, we’ll tell you. And although there are instruction manuals with every machine – some of these can be a little harder to understand, the images may not be clear enough, instructions in different languages, and let’s face it – everybody loses a manual.
The process is very simple.
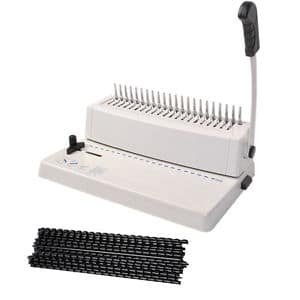
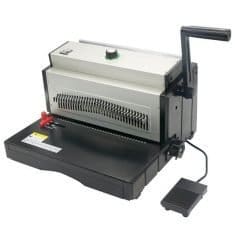
The great thing about a comb binding machine is that most of these you come across are going to be very similar in the way they operate. There are now two main categories for a comb binding machine in the market; and those are the manual machines, and the electric. Electric are generally more expensive and can get the job done quicker, however manual machines are just as good and perfectly easy to use.
Some of you may see a large variety of binding machines, and wonder “how do you use a comb binding machine?”
These instructions will help you if you have an Intelli-Bind, GBC machine, Artter, and Yada machine to name a few.
These instructions are going to cover the basics for a general comb binding machine.
Although there are both electric and manual comb binding machines on the market, there is a very basic method to use the both of them. The tools you will need for a comb binding machine are:
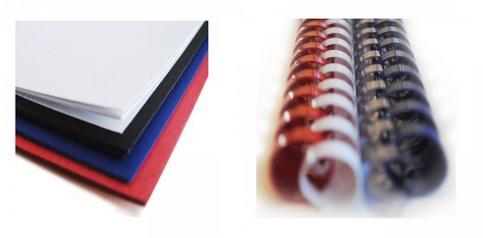
– Paper
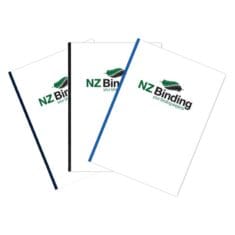
– Leather grain/Plastic cover
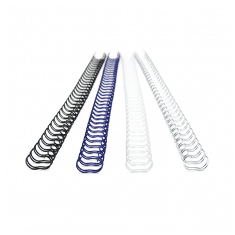
– Plastic comb
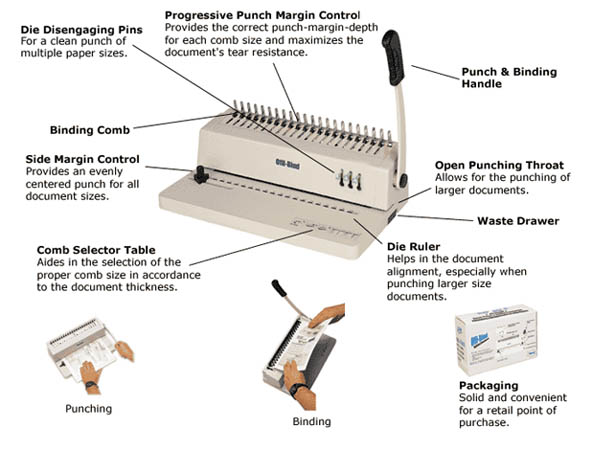
The first thing you’ll want to do, is punch the paper. This is done by a single, large handle normally on the right side of the machine (or if this is electric, this will be a button). This is the handle which you pull down to punch the paper, and depending on the machine there will be another handle that opens the combs up and closes them. All binding machines have a ‘catch tray’ where the punched paper goes, as well as the punching dye.
Punch the holes into all of your documents, ensuring you are loading small sections of paper at a time.
The amount that you can punch depends on the machine. Some machines you may only be able to punch 10 sheets of paper at one time, others will allow up to 20. If you’re punching card stock or a clear/leather cover, you won’t be able to punch multiple at one time, but most machines will still be able to handle them.
A Comb binding machine will have pre-set dimensions for punching the holes. 21 along the long edge of an A4 sheet of paper.

Placing the plastic comb onto the fingers
Once your paper is all punched and ready, you will then need to grab the plastic comb and place this on the machine using one of the handles (or a button if electronic), and slide it onto the comb fingers. You will then need to close the comb shut using the handle, which binds the plastic comb to the document, keeping them all together. You have now just bound your first document with a comb binding machine. Easy, right?
The elements are cost effective, easy to use, indestructible, available in colours and sizes
A comb binding machine can be used for all purposes; cook books, presentations, finances, and more. We have a wide range of leathergrain backs and plastic combs available here with us at NZ Binding, as well as a comprehensive range of both manual, and electric comb binding machines. You can shop online today!
Spend $400+ in Oct or Nov and Receive a FREE Binding Starter Pack! Pack value = $94! Simply mention this post. Please do not hesitate to contact us, or reach out to our Facebook page if you have any further questions.
Thanks,
Adrian and the NZBinding team.


")


