


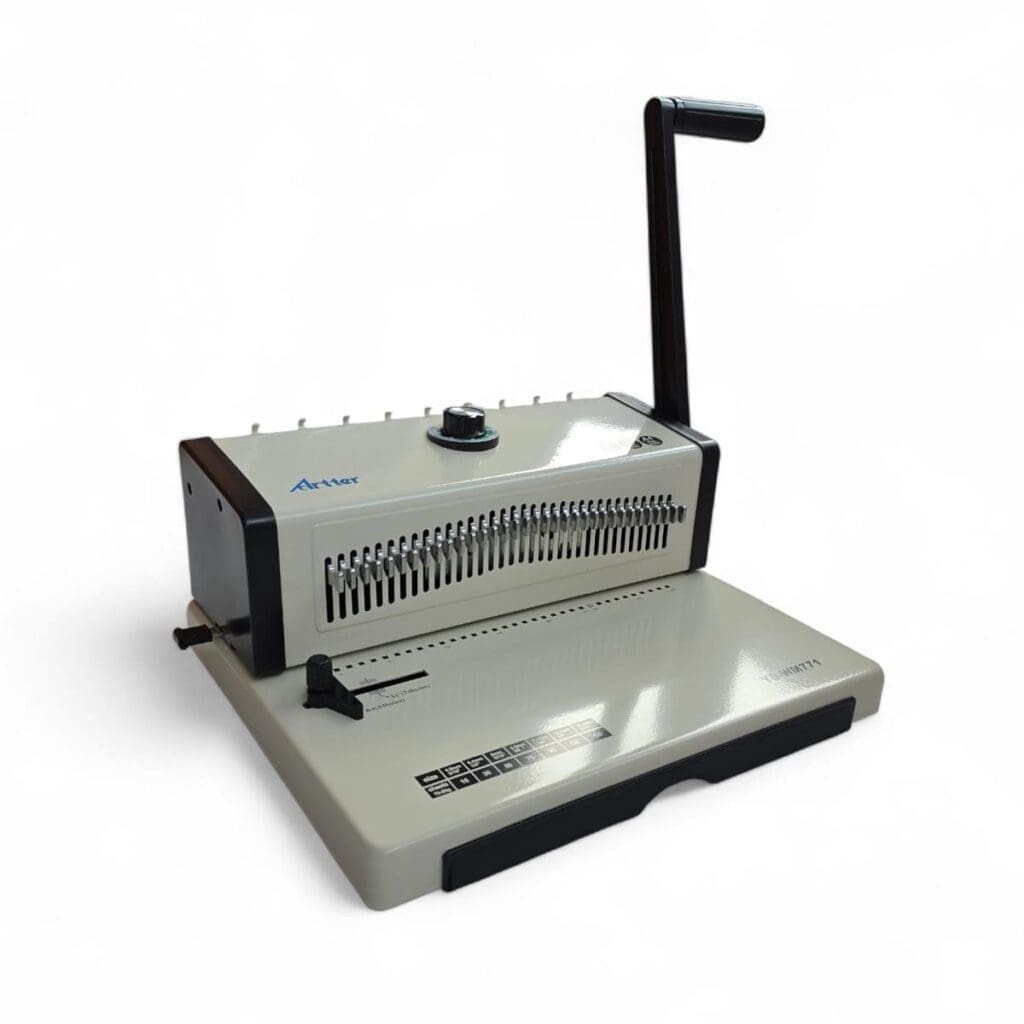
This heavy-duty wire binding machine is built with durable metal construction, making it a reliable choice for both home and office use. Designed for versatility, it is compatible with 34-loop metal wires ranging from 6mm to 14mm, allowing you to create professional-looking documents with ease.
The machine features an adjustable margin for precise, customised binding, along with disengageable pins that make it simple to work with a variety of paper sizes, including non-standard formats. Its user-friendly design includes a single handle that efficiently manages both punching and binding, streamlining the entire process. For added convenience, a removable waste paper tray ensures quick and easy clean-up after use.
WM771 Manual Wire Binding Machine
Welcome to New Zealand Binding, in this video we are going to demonstrate the WM771 which is our entry level 3 to 1 Manual Wire machine.
First you’ll need to check the pins are in the correct position for the page dimension you are using, in this case all pushed in for A4.
The dial on the top of the machine needs to be set to punch, which is the yellow section.
Before you start any binding always test with a piece of scrap paper to ensure that the holes are centred along the length of the document.
You can adjust the position of the holes by moving the paper guide and margin lever.
Now that we’re ready to bind make sure pages are level and place the document into the machine ensuring it is tight against the paper guide.
When ready pull down the large handle on the right to punch the paper and put the pages face down on the desk.
We recommend punching no more than 12 sheets of 80 gsm or 2 clear acetate covers in one go to avoid damaging the machine.
Once all pages have been punched for a neat finish move the back page to the front as this will hide the join inside your document once bound.
Make sure all holes line up and place document on the edge of the desk with a slight overhang.
Turn the dial on top of the machine to adjust the clamp to the size of the wire you are using.
Thread the wire through the holes just enough so that the C opening is facing towards you.
Pinch the bottom of the document just above the wire tightly to lock it in position and carefully place the document in the magnetic clamp, ensuring the wire is flat.
Pull the handle towards you slowly until the clamp grips the wire and then squeeze firmly.
Remove the document and ensure wire is evenly clamped.
The join should be clearly visible but closing the back page will conceal this inside the document.
Your document is now ready.
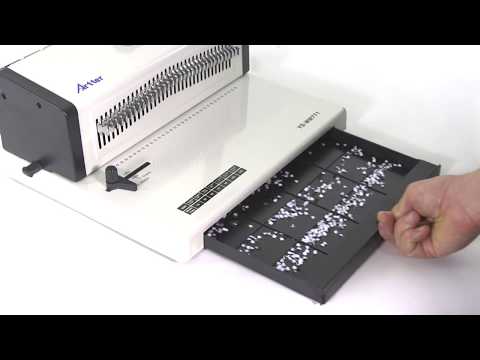
Don’t forget when binding to empty the tray regularly as this will avoid the machine getting jammed.